Custom Cloudflare for Families
Custom content filtering, privacy and malware protection, and real-time dashboards for allowed/blocked traffic across devices and networks — this is Cloudflare for Teams . . . for Families custom edition. From here on out I’ll refer to Cloudflare simply as CF.
If you want to protect your home from malicious sites and have a measure of control over what your kids are exposed to, you’ll find this setup appealing. CF released an official product called CF for Families in April of 2020 (read more here), but there is no simple way to configure what content policies contain and how they’re applied. Enter CF for Teams Gateway + 1.1.1.1, the original products CF for Families was built on top of. These products are normally used by businesses to keep remote, company-owned devices more secure and compliant with internal content policies. It comes loaded with custom content policies, dashboards for allowed/blocked content across different networks and devices, and even admin logs for when policies get changed. You can get all this for free with a free CF account and a little setup work. Let me show you how.
CF makes this possible through another product called 1.1.1.1, a native app for mobile and desktop that routes all your network traffic through its DNS resolver for top-of-the-line speed and privacy. With this app installed you can bypass the default DNS addres of 1.1.1.1 and point each device to a custom destination that will allow you to do everything I’ve described previously. Put simply, DNS is the phone book of the Internet, taking meaningless IP addresses and connecting you to meaningful URLs.
Outline
- Prerequisites
- Web Steps - login to CF, create content policy, create location and assign policy
- Home Router Setup - point your home wifi router to new DNS address
- iOS Setup - Native 1.1.1.1 iOS App
- Mac Setup - Native 1.1.1.1 Mac App is way easier than it used to be
Here is CF for Families custom edition. For this you’ll need the following:
Prerequisites
1.1.1.1 app installed on your mobile/desktop - download here
A free CF for Teams account - sign up here
Web Steps
1. Login to Cloudflare and access the Teams dashboard at https://dash.teams.cloudflare.com
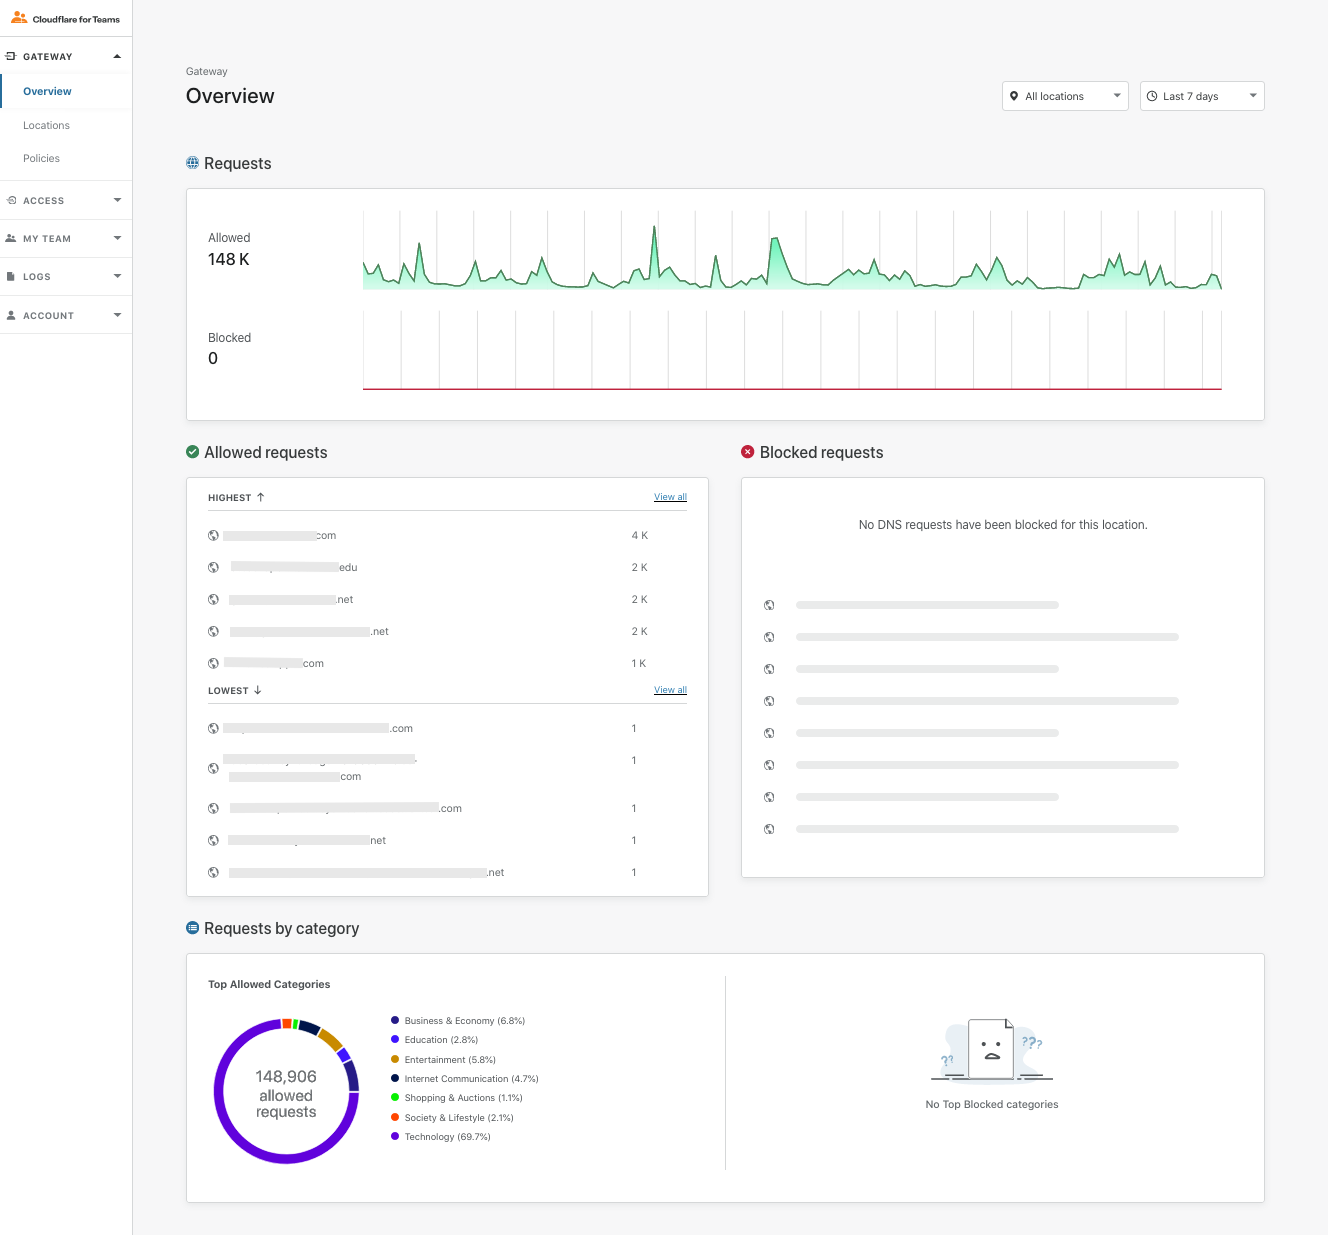
2. Create your first policy
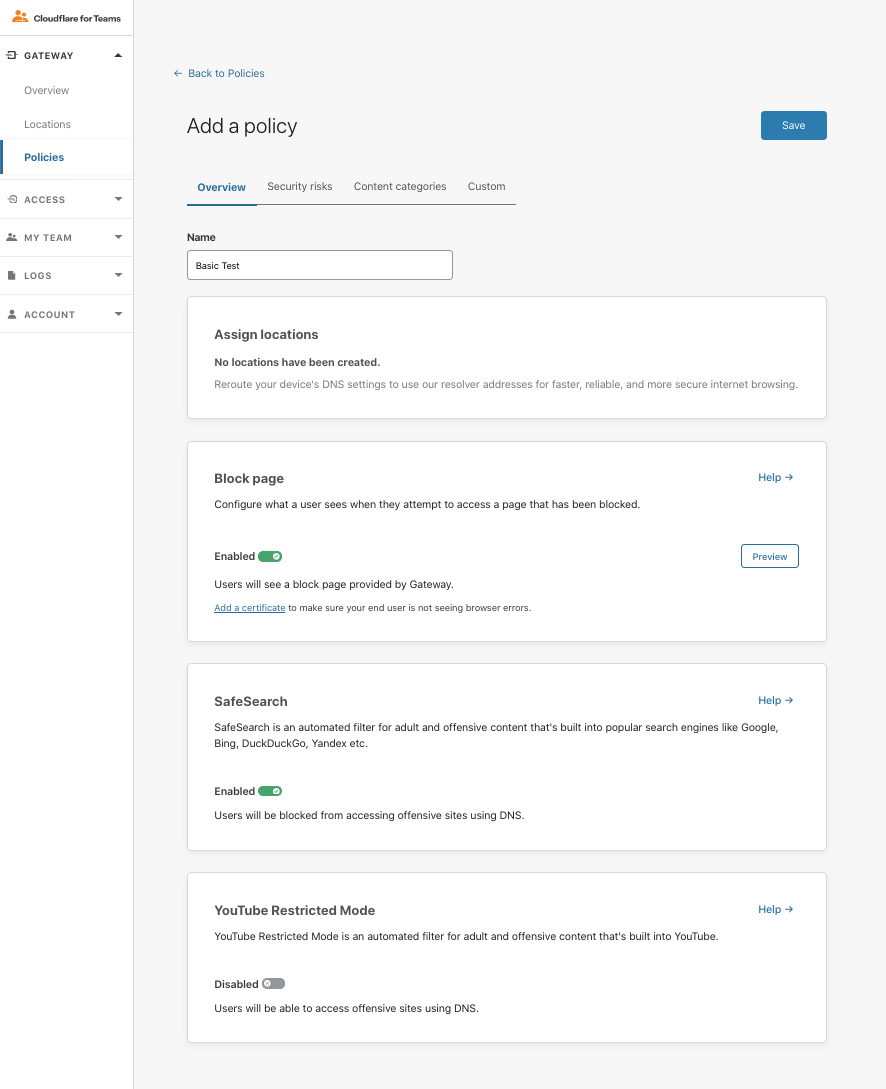
2.1 Security risks to block: default Block all unless you have good reason not to do so
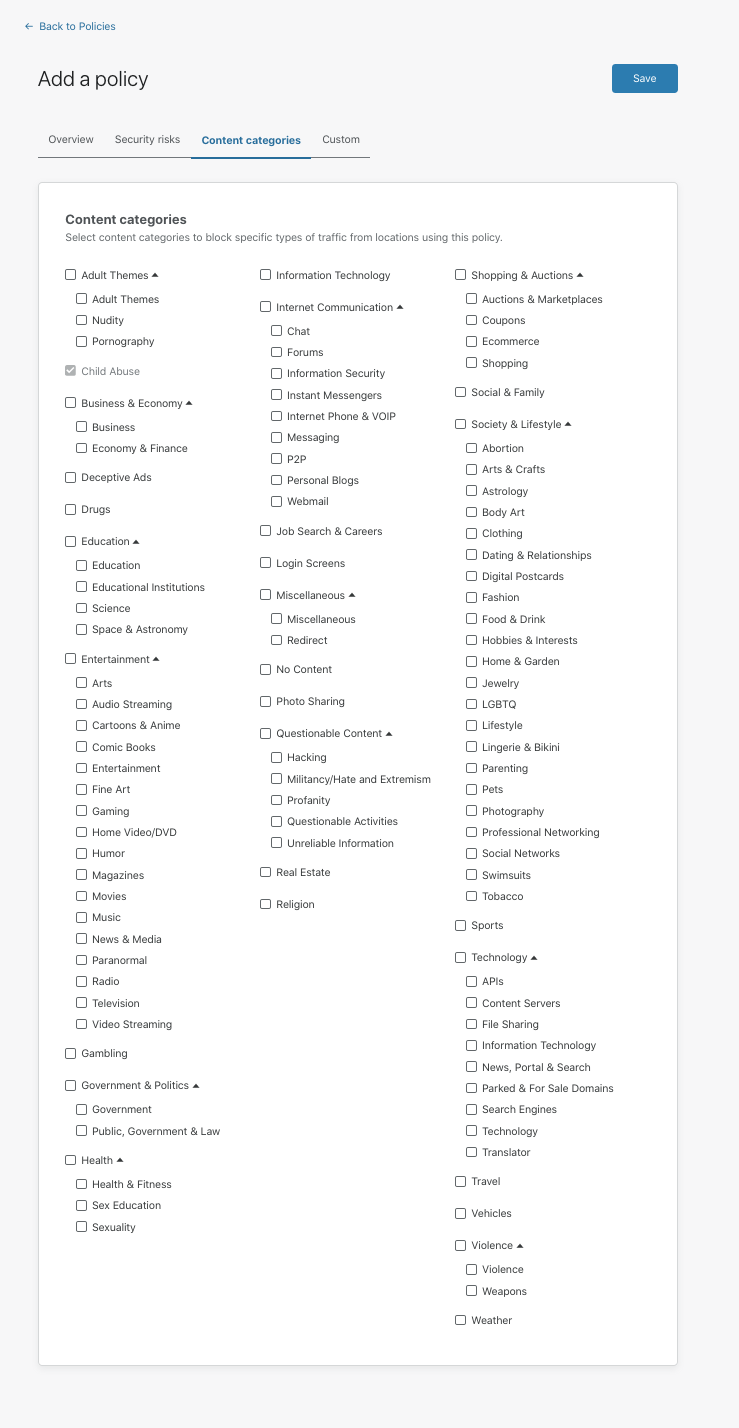
2.2 Content categories: check what you want filtered out of results
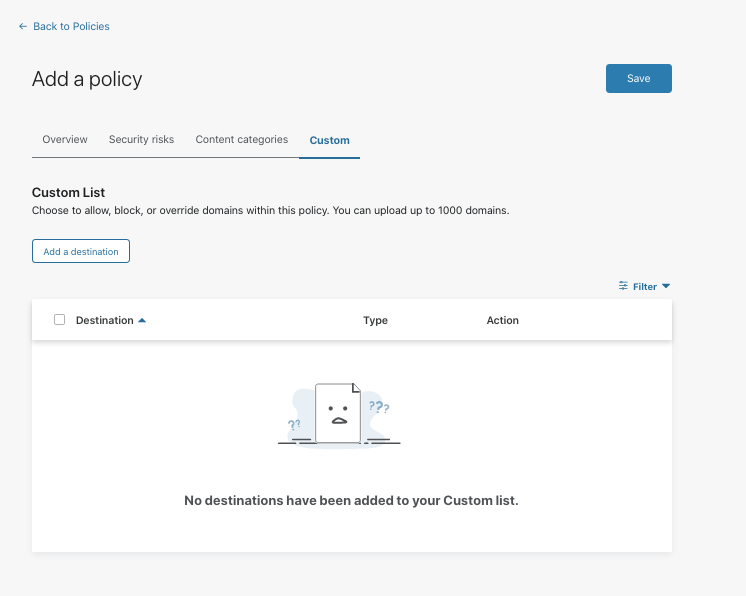
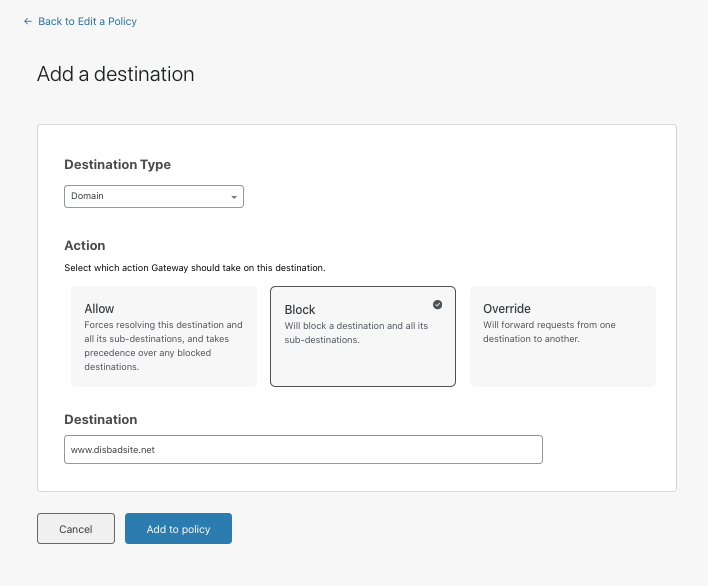
2.3 Custom List: add any always allow or block addresses
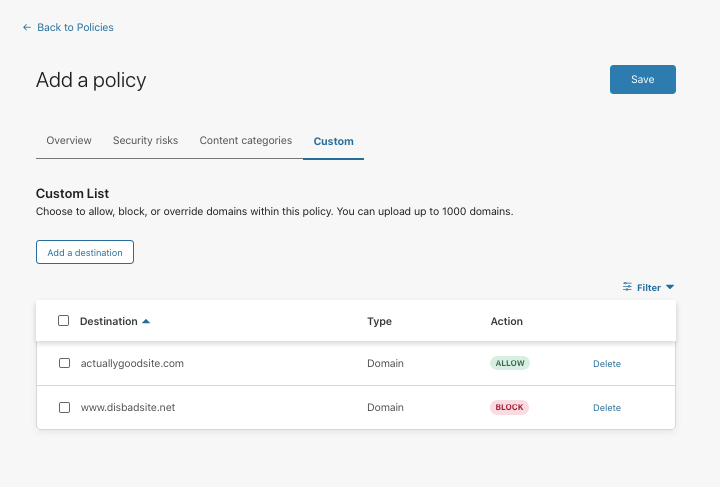
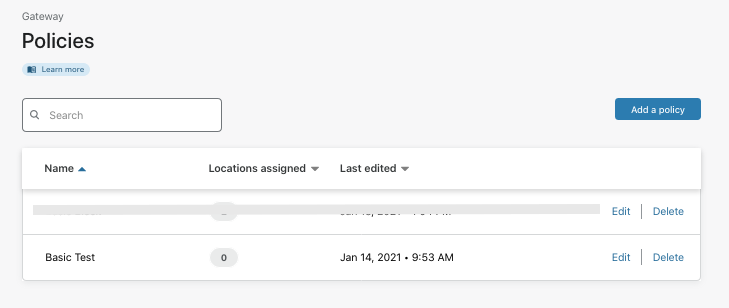
2.4 Save and you should now see your policy in the main list:
3. Create your first location (from wherever you’re viewing this tutorial from)
- CF automatically detects your external IP and sets it. So if you need to set this from your phone’s LTE connection, you’ll need to access the page from your phone’s browser on your provider’s network.
- Assign Basic Test policy
- Click Add location
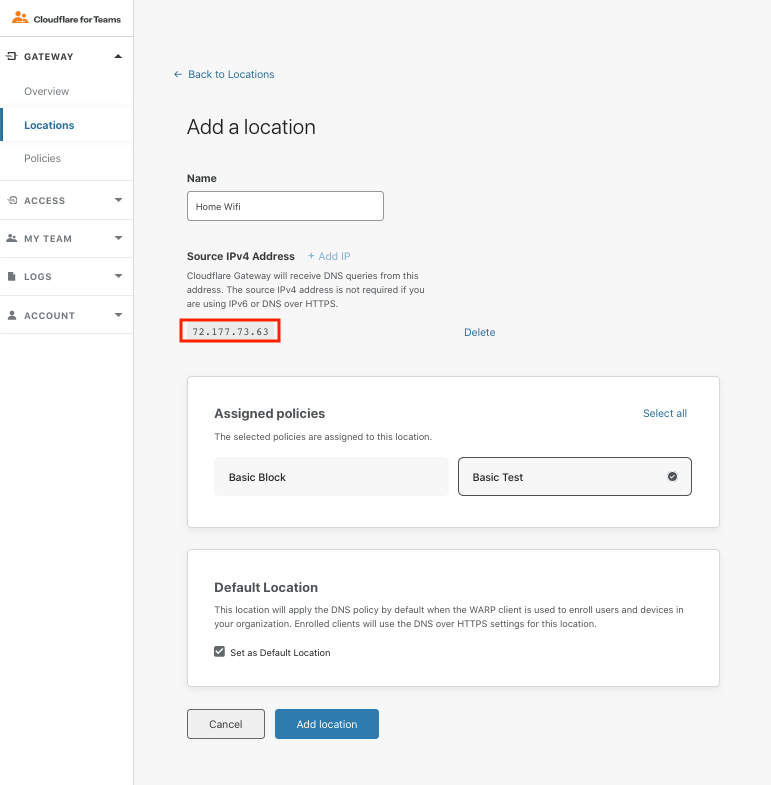
4. Find this subdomain and save it for later
Save for later!

5. Repeat for each location you frequently use. You can start by only routing all your devices regardless of network to a single location. If so, no need to create more locations.
Return to top or table of contents
Home Router Setup
I’d suggest following CF’s instructions linked on each location. This will point your home wifi network to your custom DNS IP address. I consider this a fallback measure as changing DNS settings on a device is easy if you know where to go.
- You can set the native apps to disable on certain wifi networks (like your home network)

iOS Setup
1. Install 1.1.1.1 app from the App Store - download here
2. Open the app and navigate to: Settings > Advanced > Connection options > DNS settings
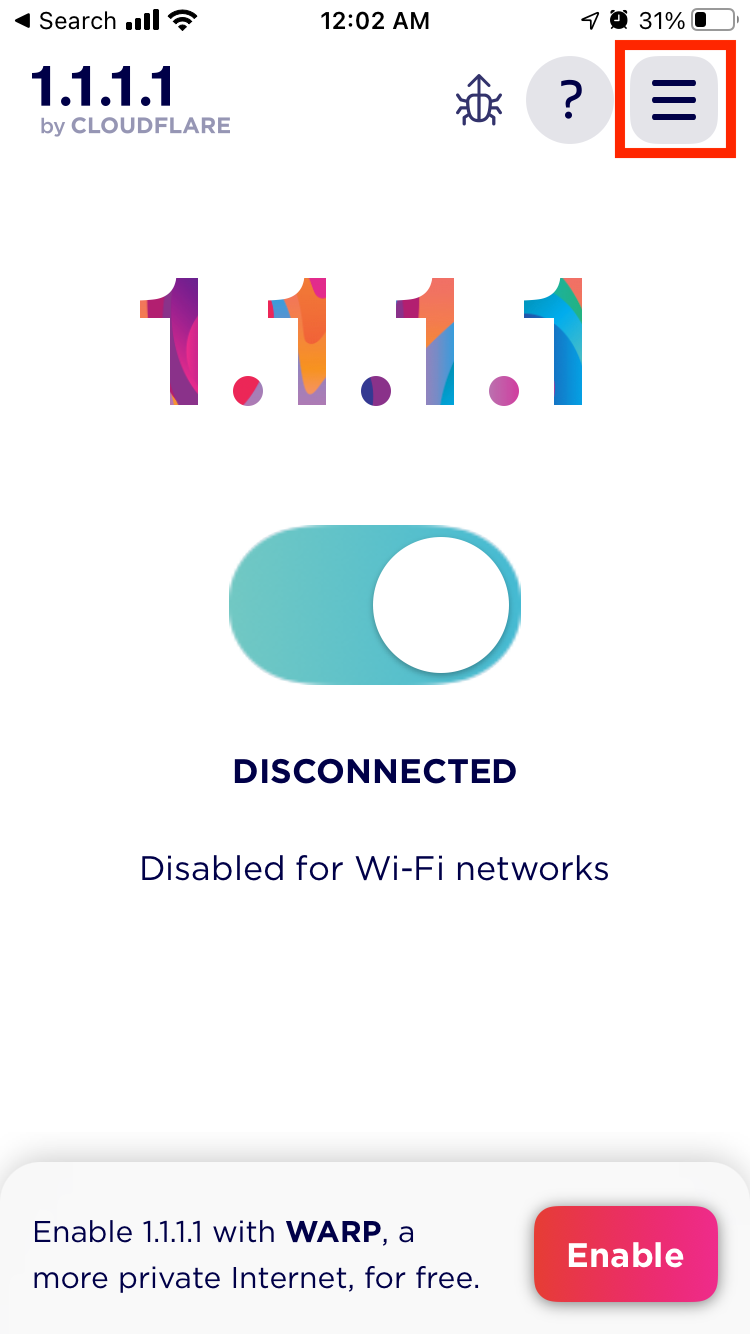
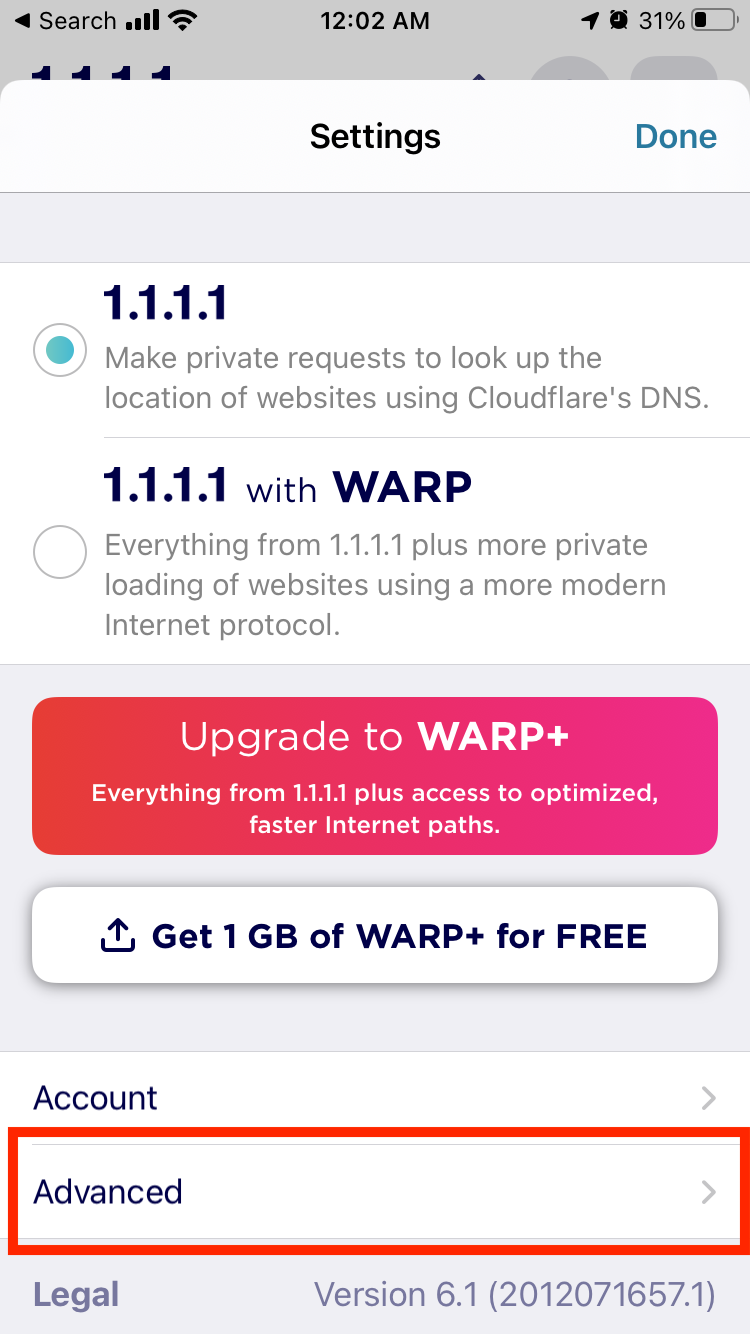
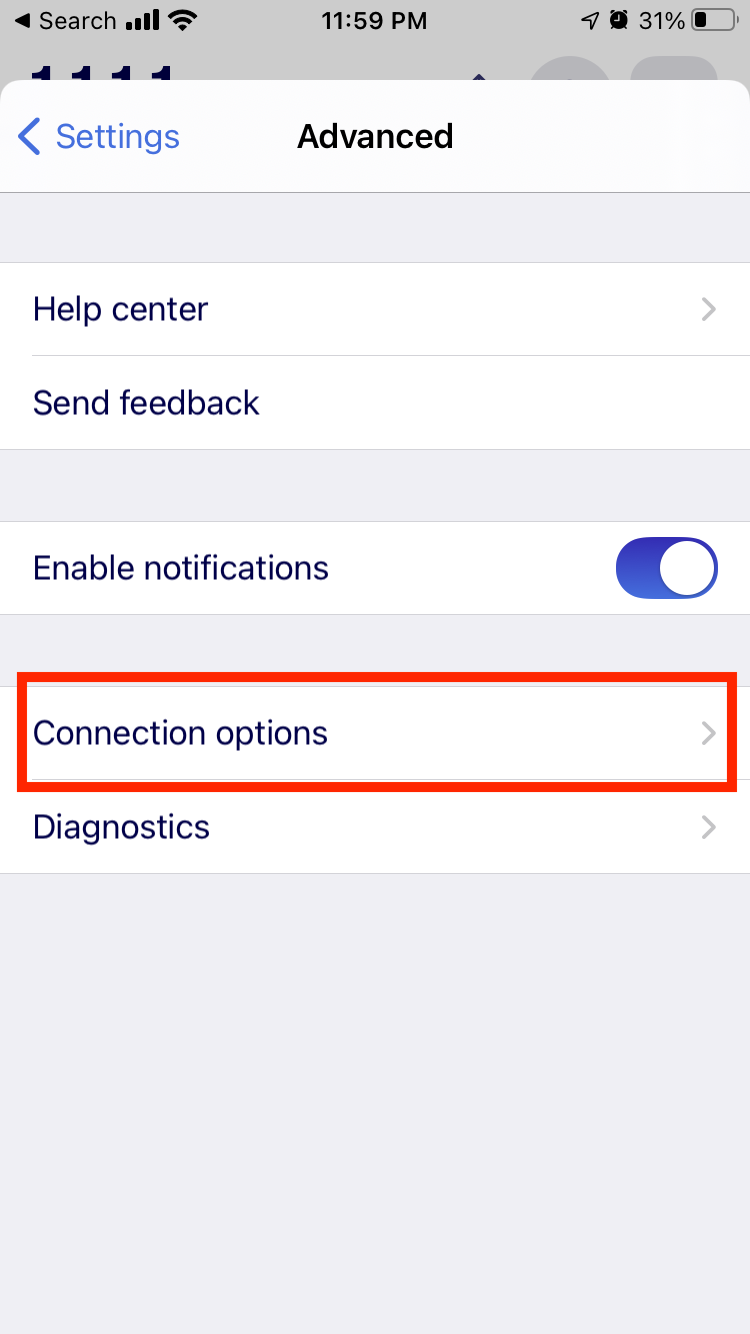
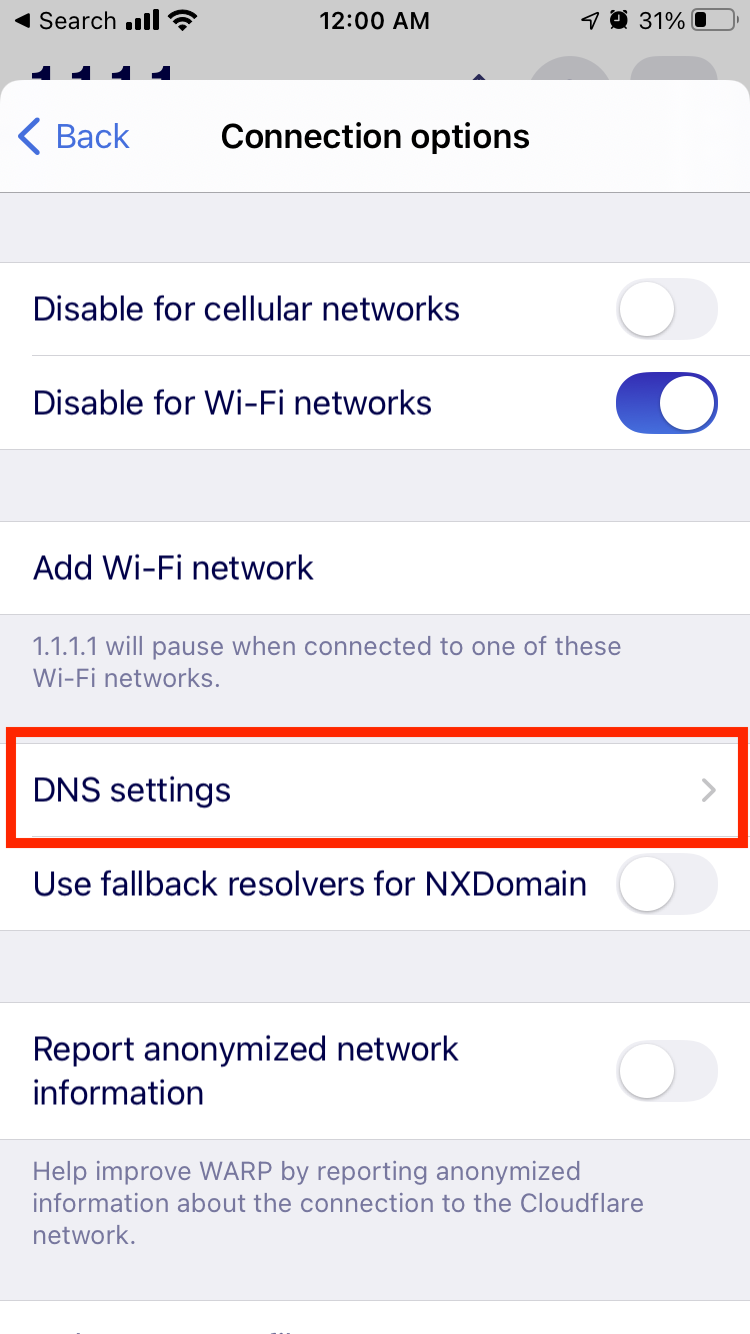
3. Gateway DoH Subdomain:
Enter/paste subdomain from Web Steps 4. You only need the 8-or-so character string, not the entire URL.
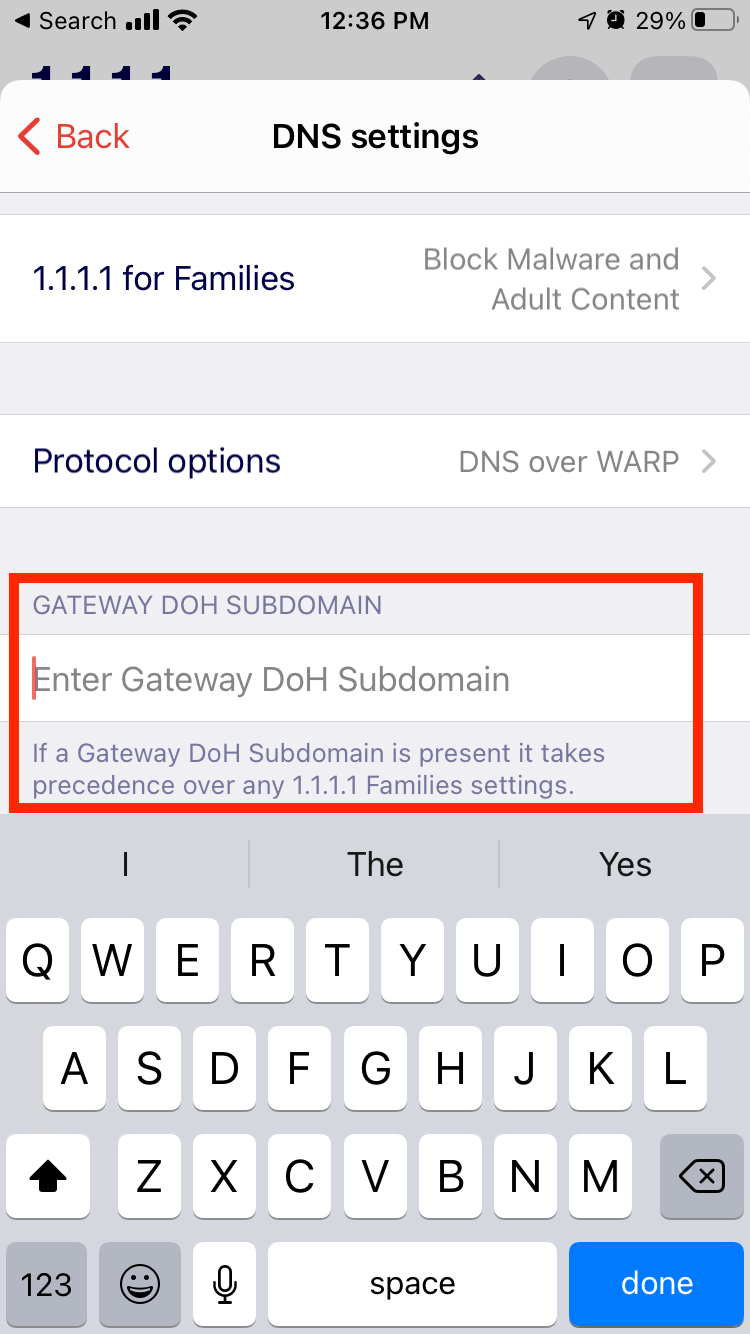
- This location subdomain can either be your home network or if you connect to the Teams dashboard on your mobile network, you can create a new location that way and point your mobile to that to separate traffic.
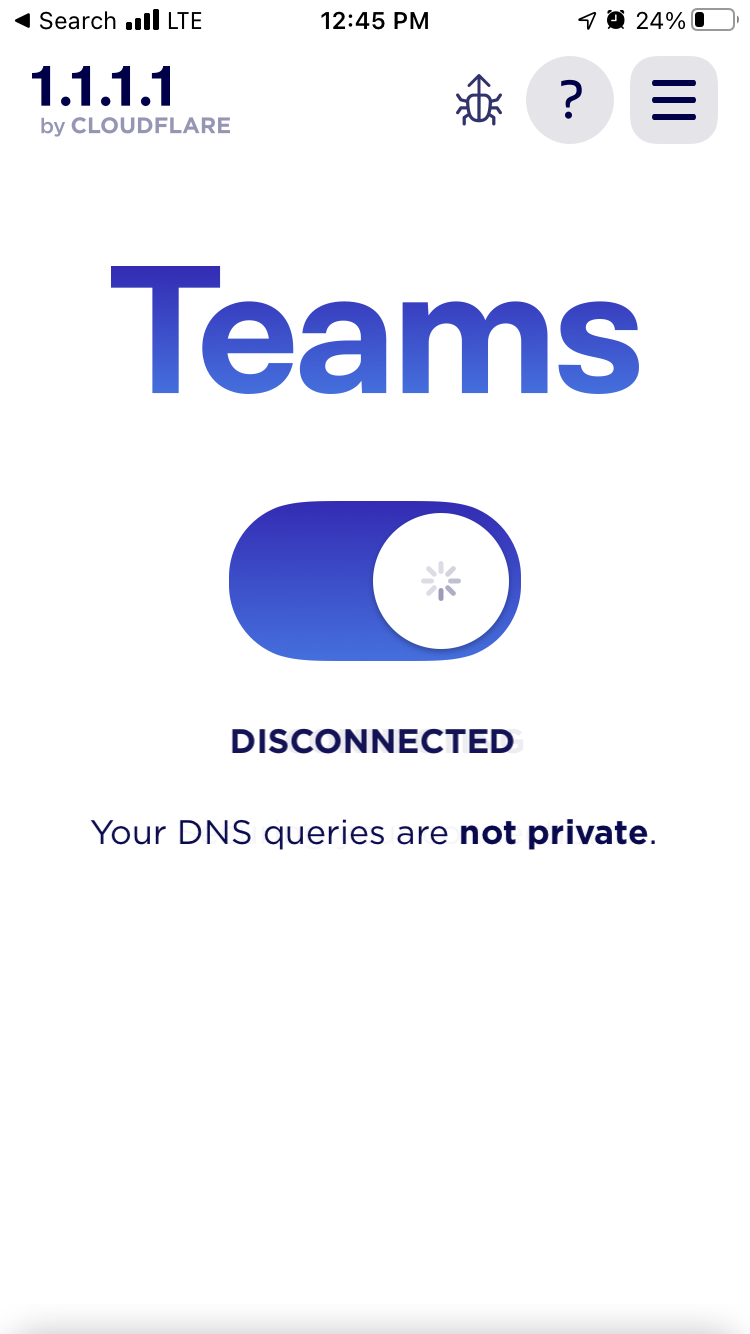
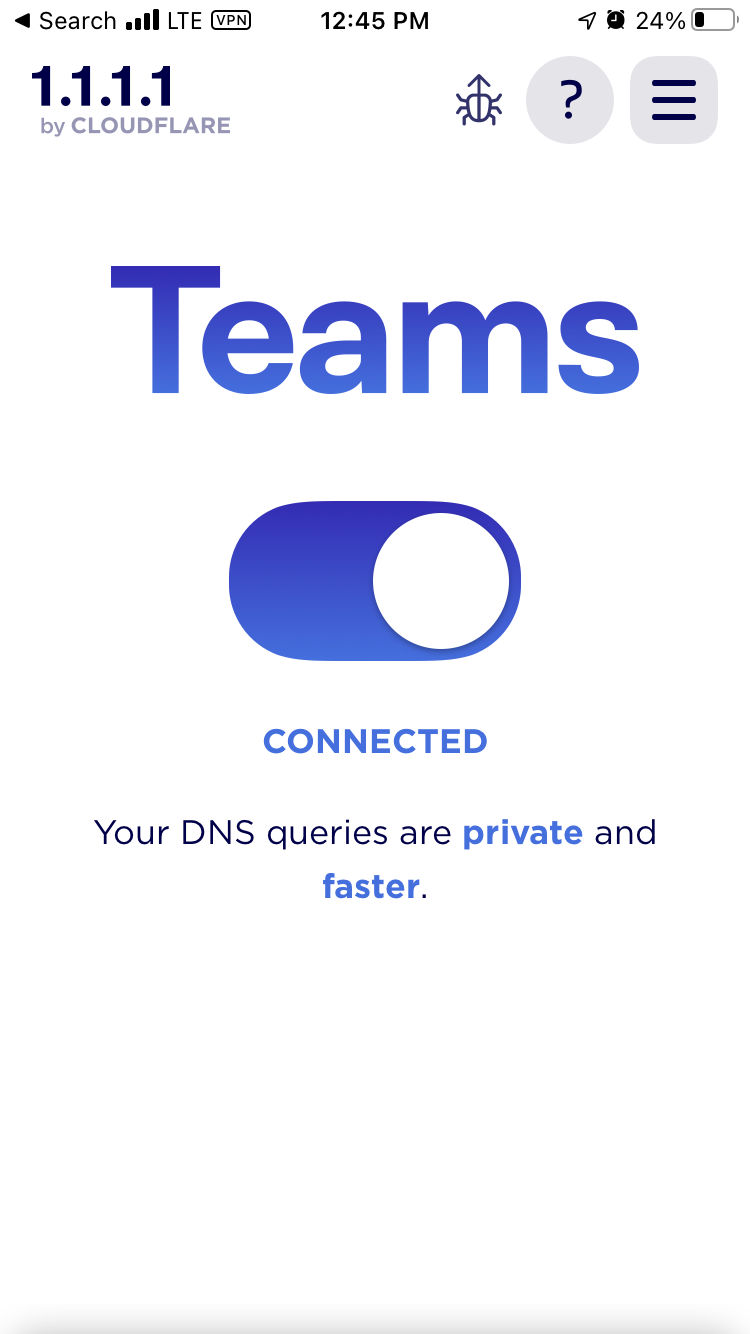
4. Connect! Back out to the main 1.1.1.1 menu and it should now say Teams instead of Warp or 1.1.1.1
Return to top or table of contents
Mac Setup
1. Install 1.1.1.1 app from Mac App Store download here
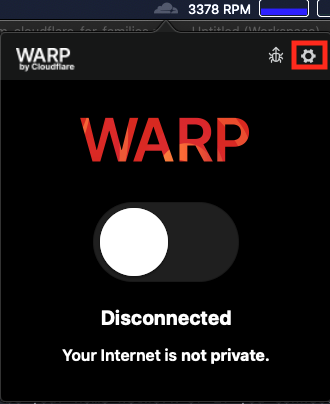
2. Click Cloudflare task bar icon: Gear icon > Connection Tab
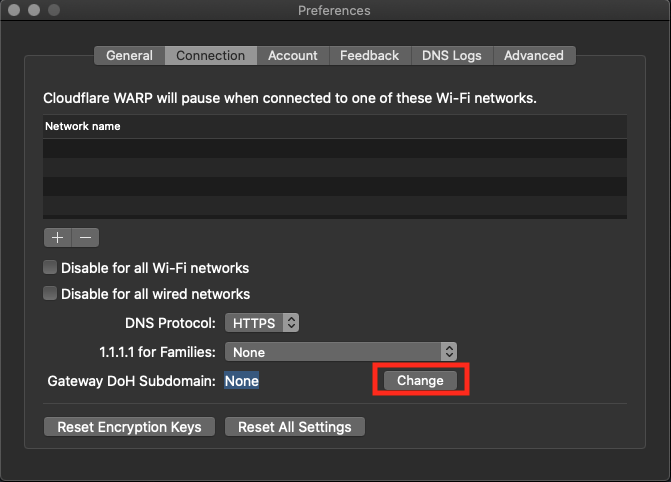
Click ‘Change’ in Gate DoH Subdomain field

Enter/paste DOH subdomain from Web Steps 4. You only need the 8-or-so character string, not the entire URL.
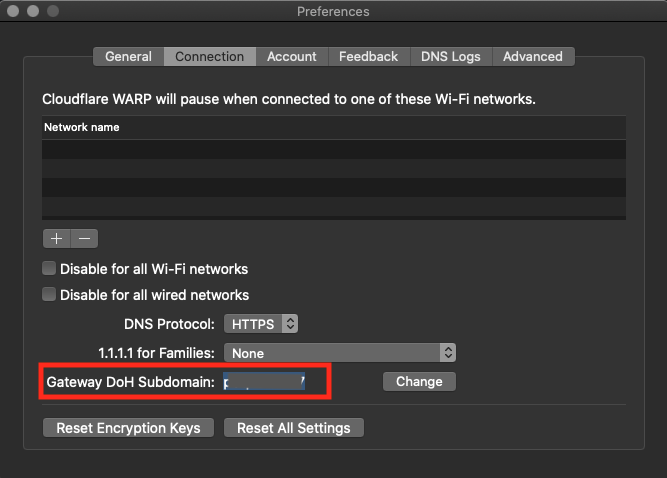
5. Connect!
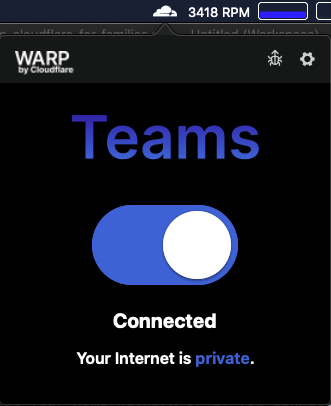
Click the Cloudflare icon in the task bar icon and it should now say Teams instead of Warp or 1.1.1.1
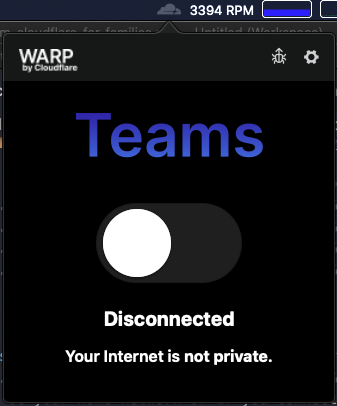
Make sure 1.1.1.1 shows it’s connected
